Use the AI Assistant
Write from a brief, rewrite with one tap, tailor each channel and schedule at your best time — nothing changes until you say so.
A step-by-step tour of the Assistant, from a brief to the Schedule card.
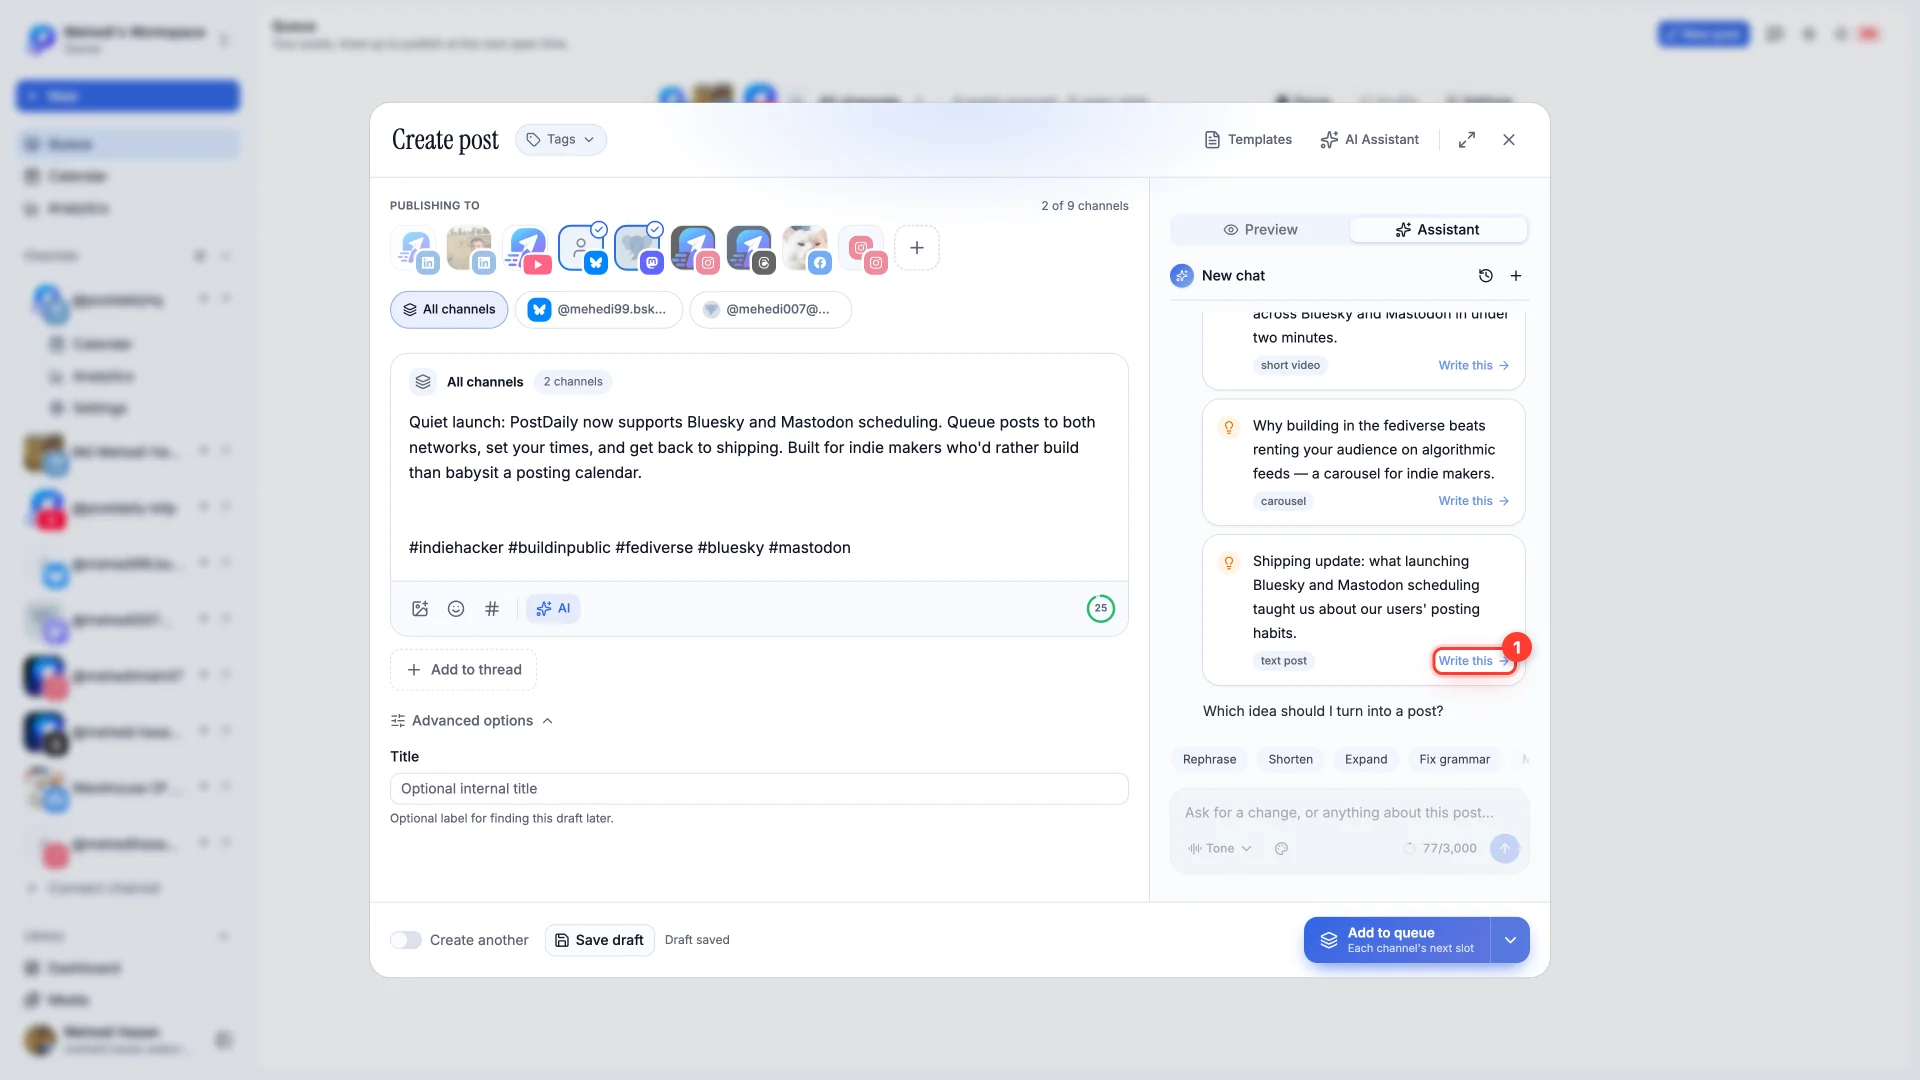
The Assistant lives in the composer, in the Assistant tab beside Preview. It works on the post you're writing — from a blank draft to a scheduled post — and nothing changes until you say so.
Write from a brief
- 1Pick your channels
Select them under Publishing to first. The Assistant sizes every option for the channels you picked.
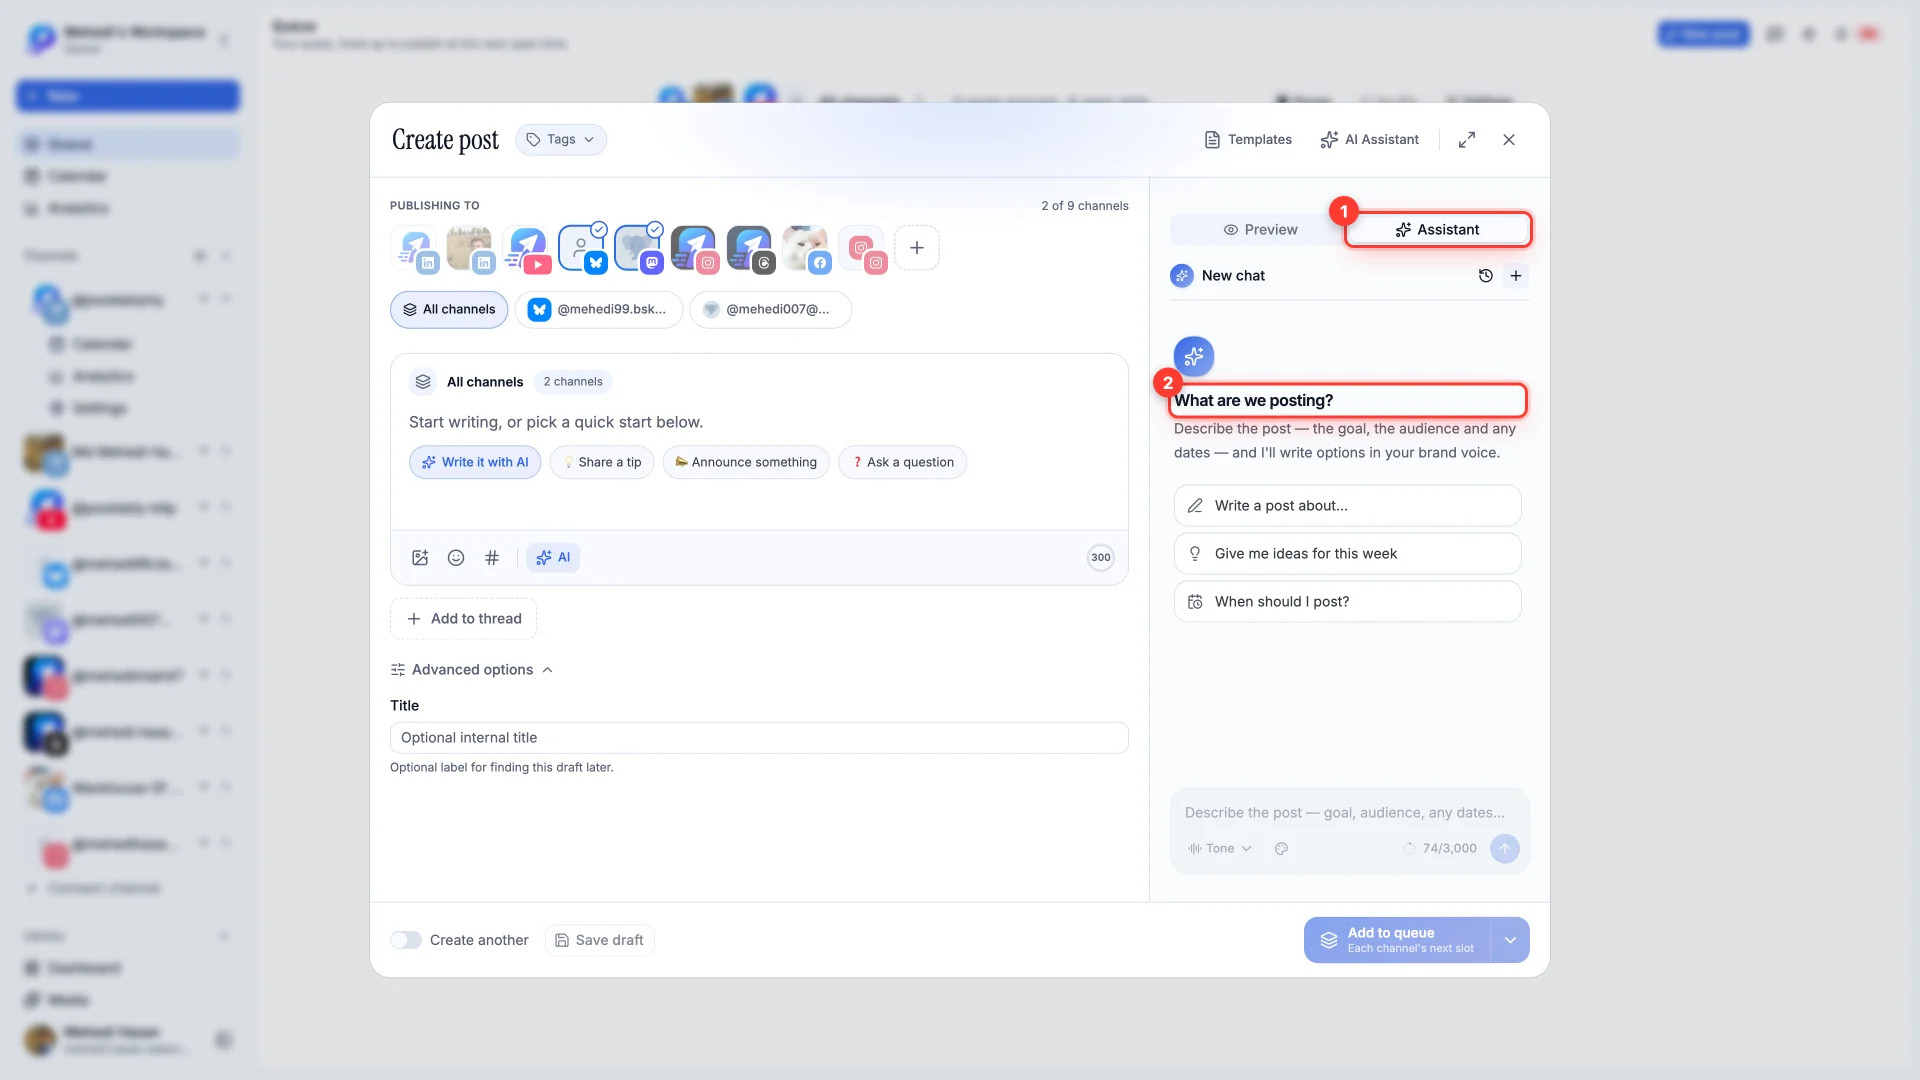
- 2Open the Assistant tab
It sits beside Preview. The + button starts a new chat.
- 3Describe the post
Say what it's about, who it's for and any dates. Or pick a starter: Write a post about…, Give me ideas for this week or When should I post?
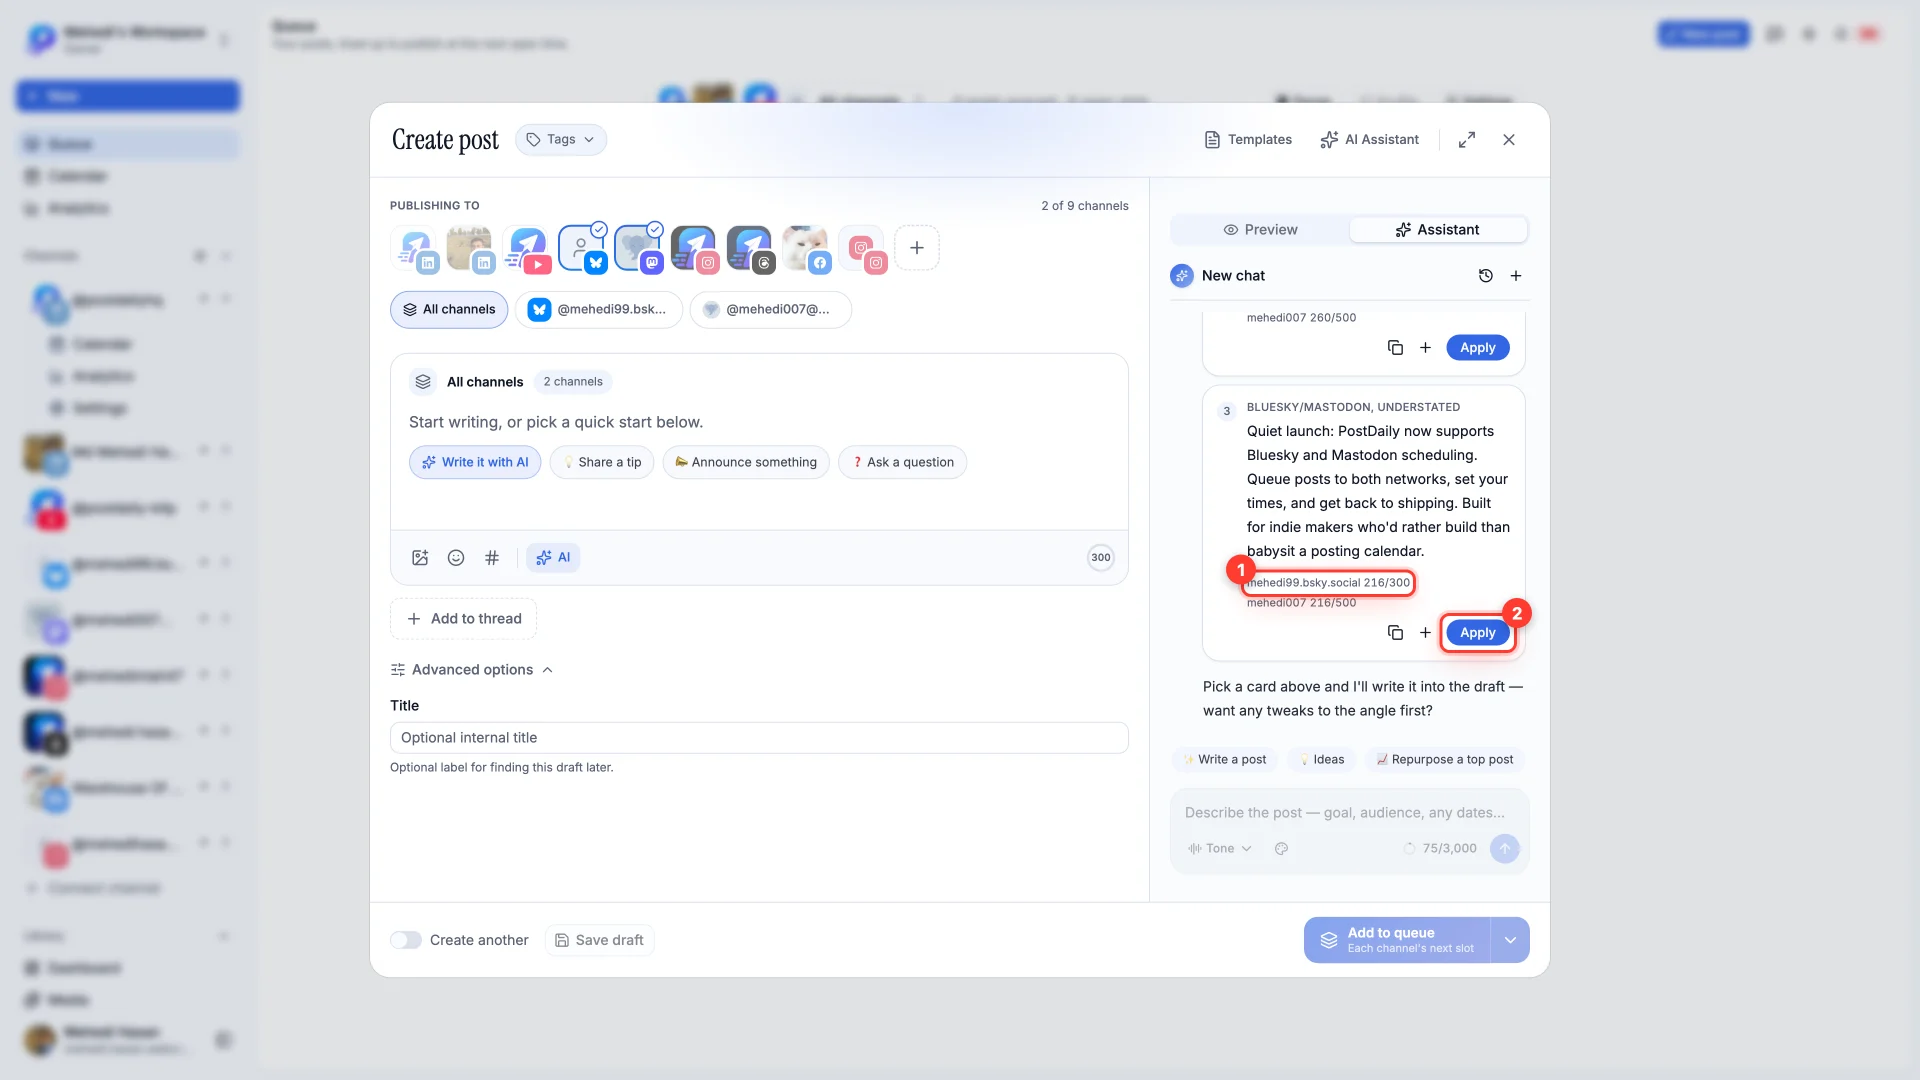
- 4Pick one
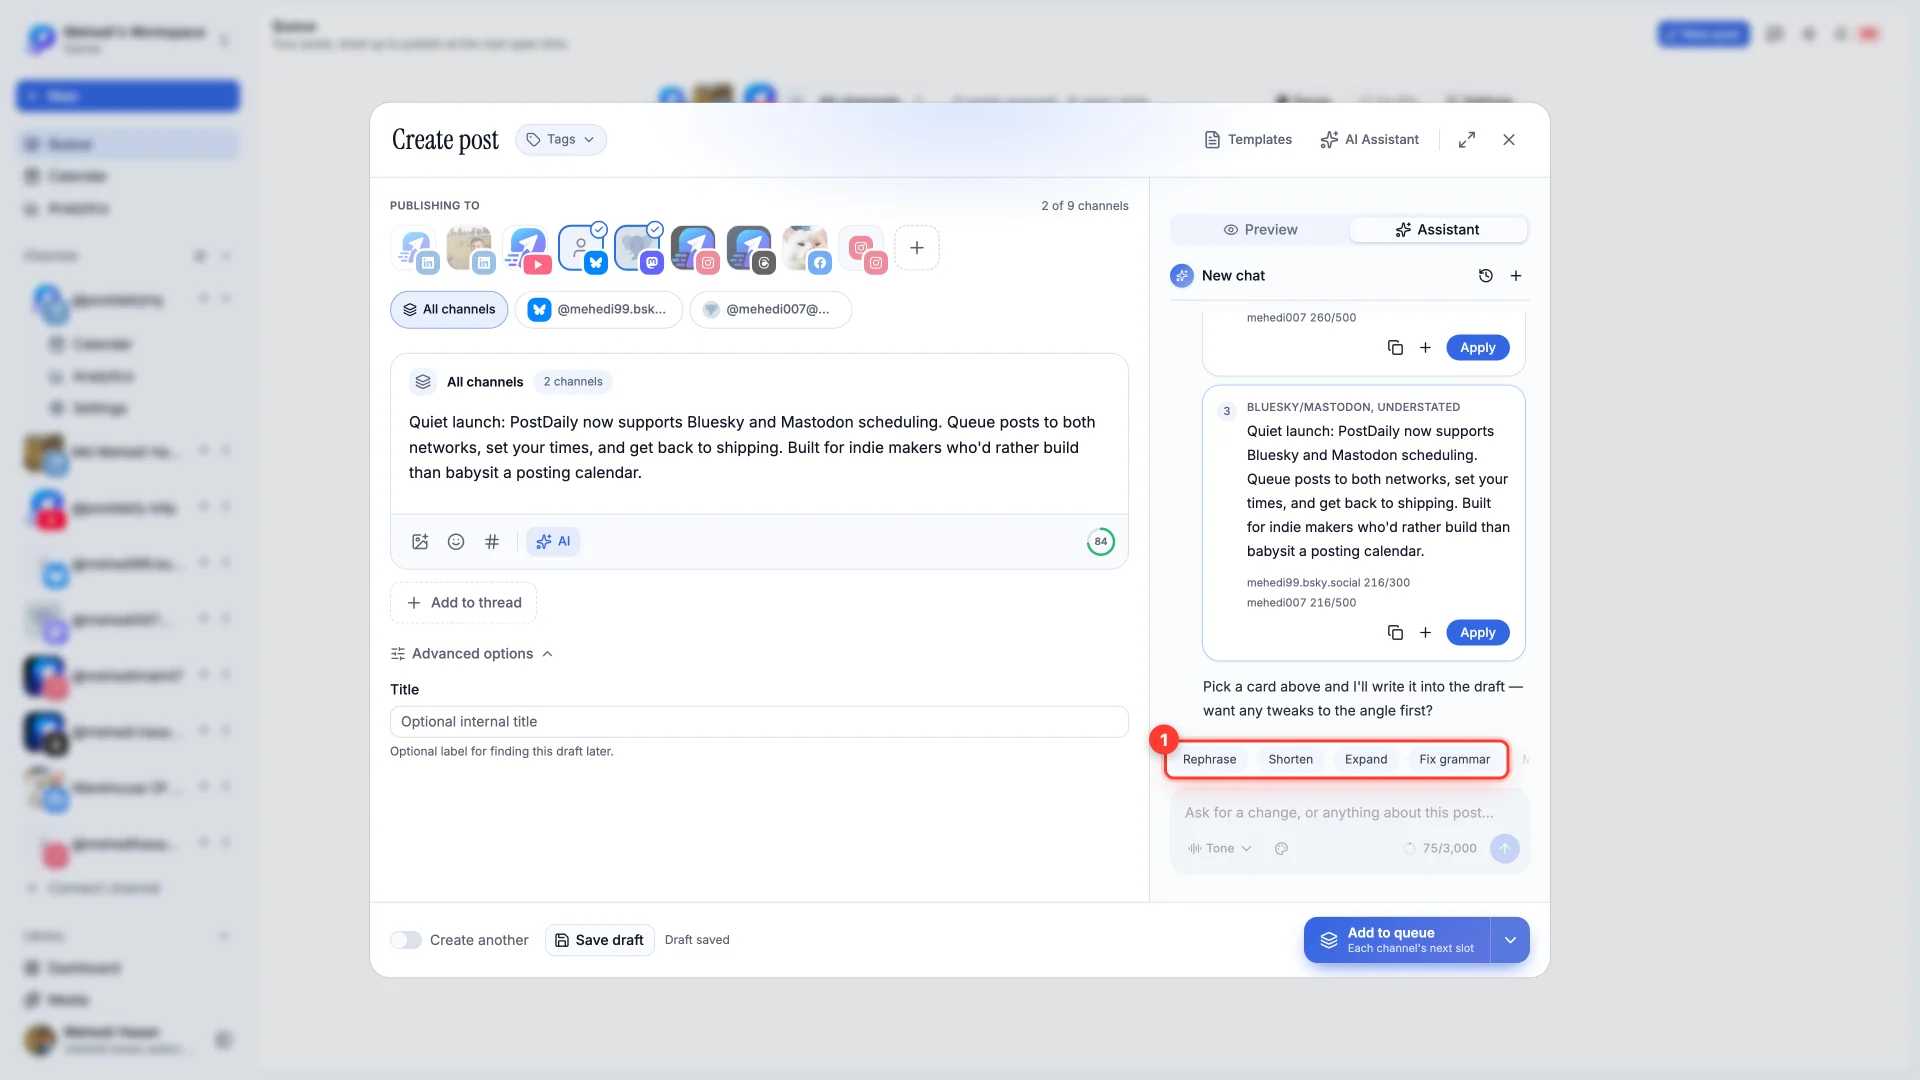
Each option shows its character count for every channel you picked, such as 216/300 for Bluesky. Apply puts it in your draft; + adds it to the end of the draft instead.
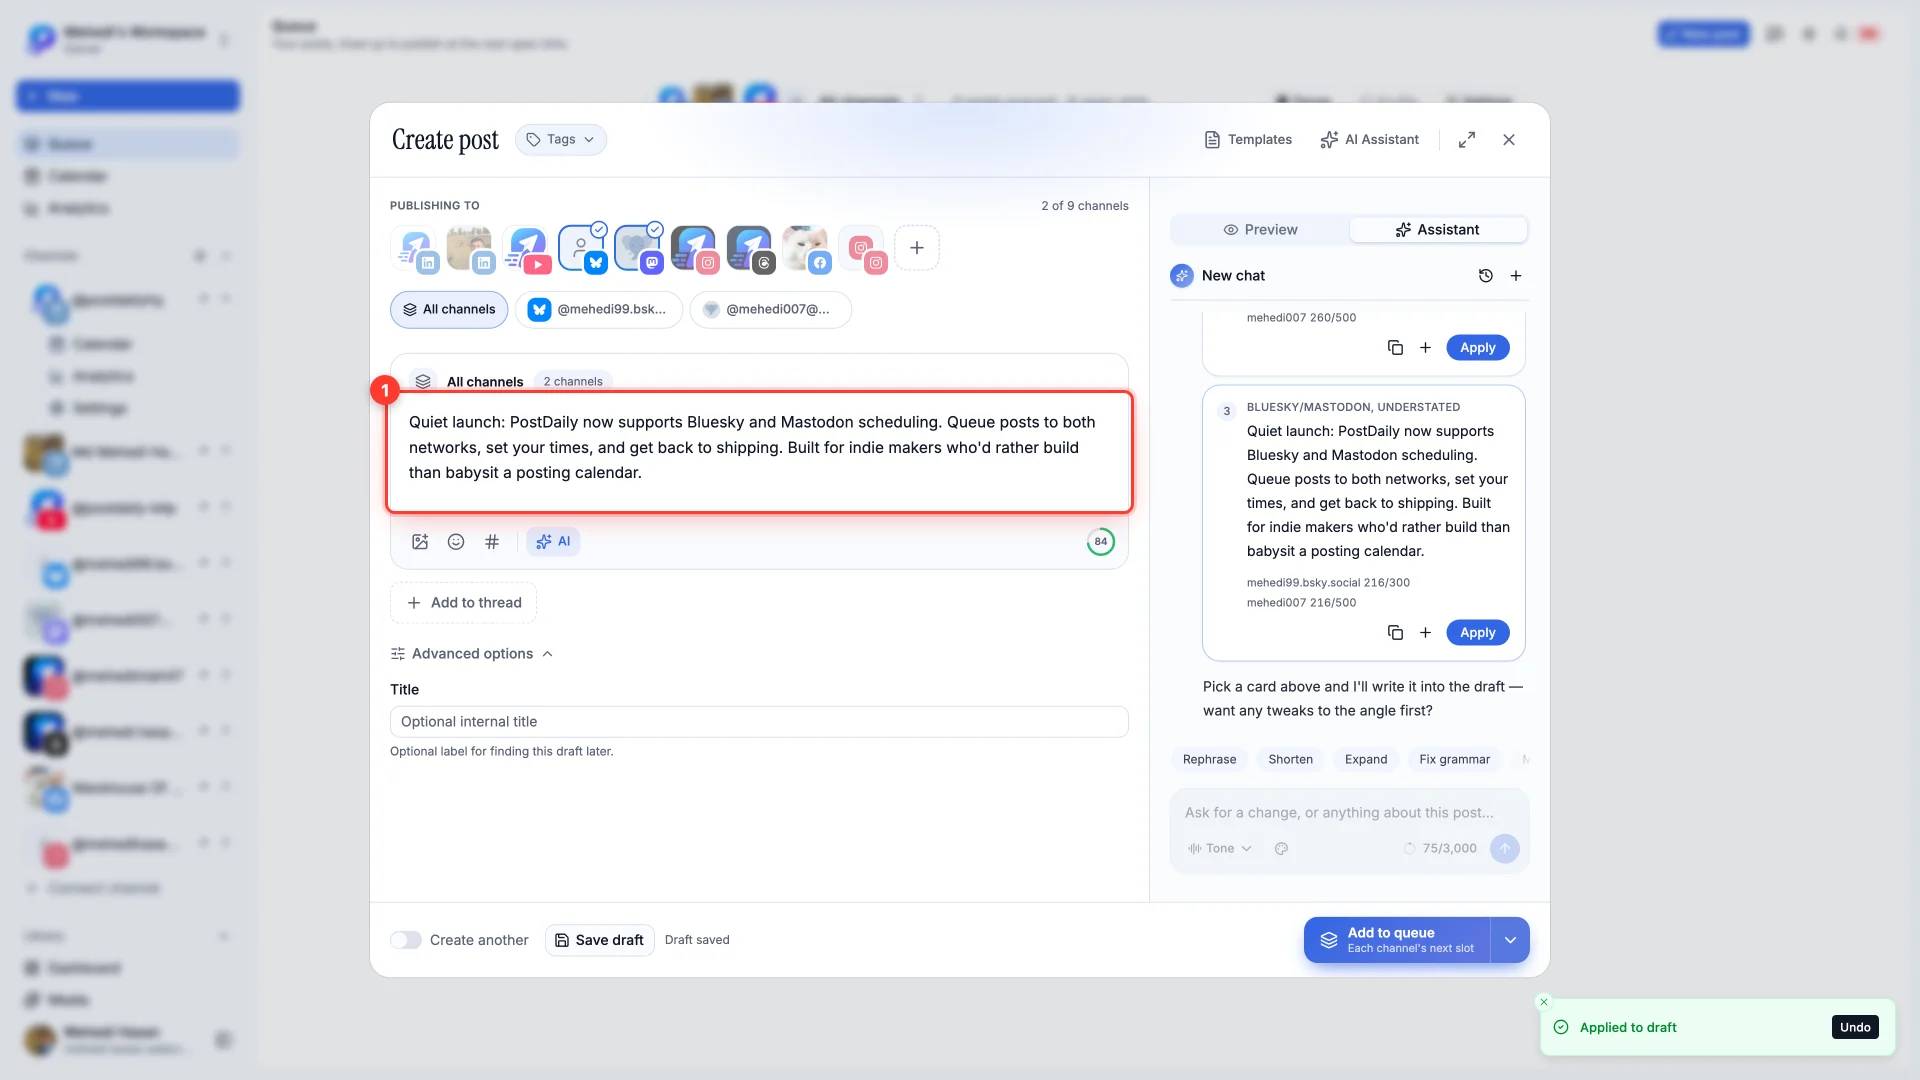
Quick rewrites
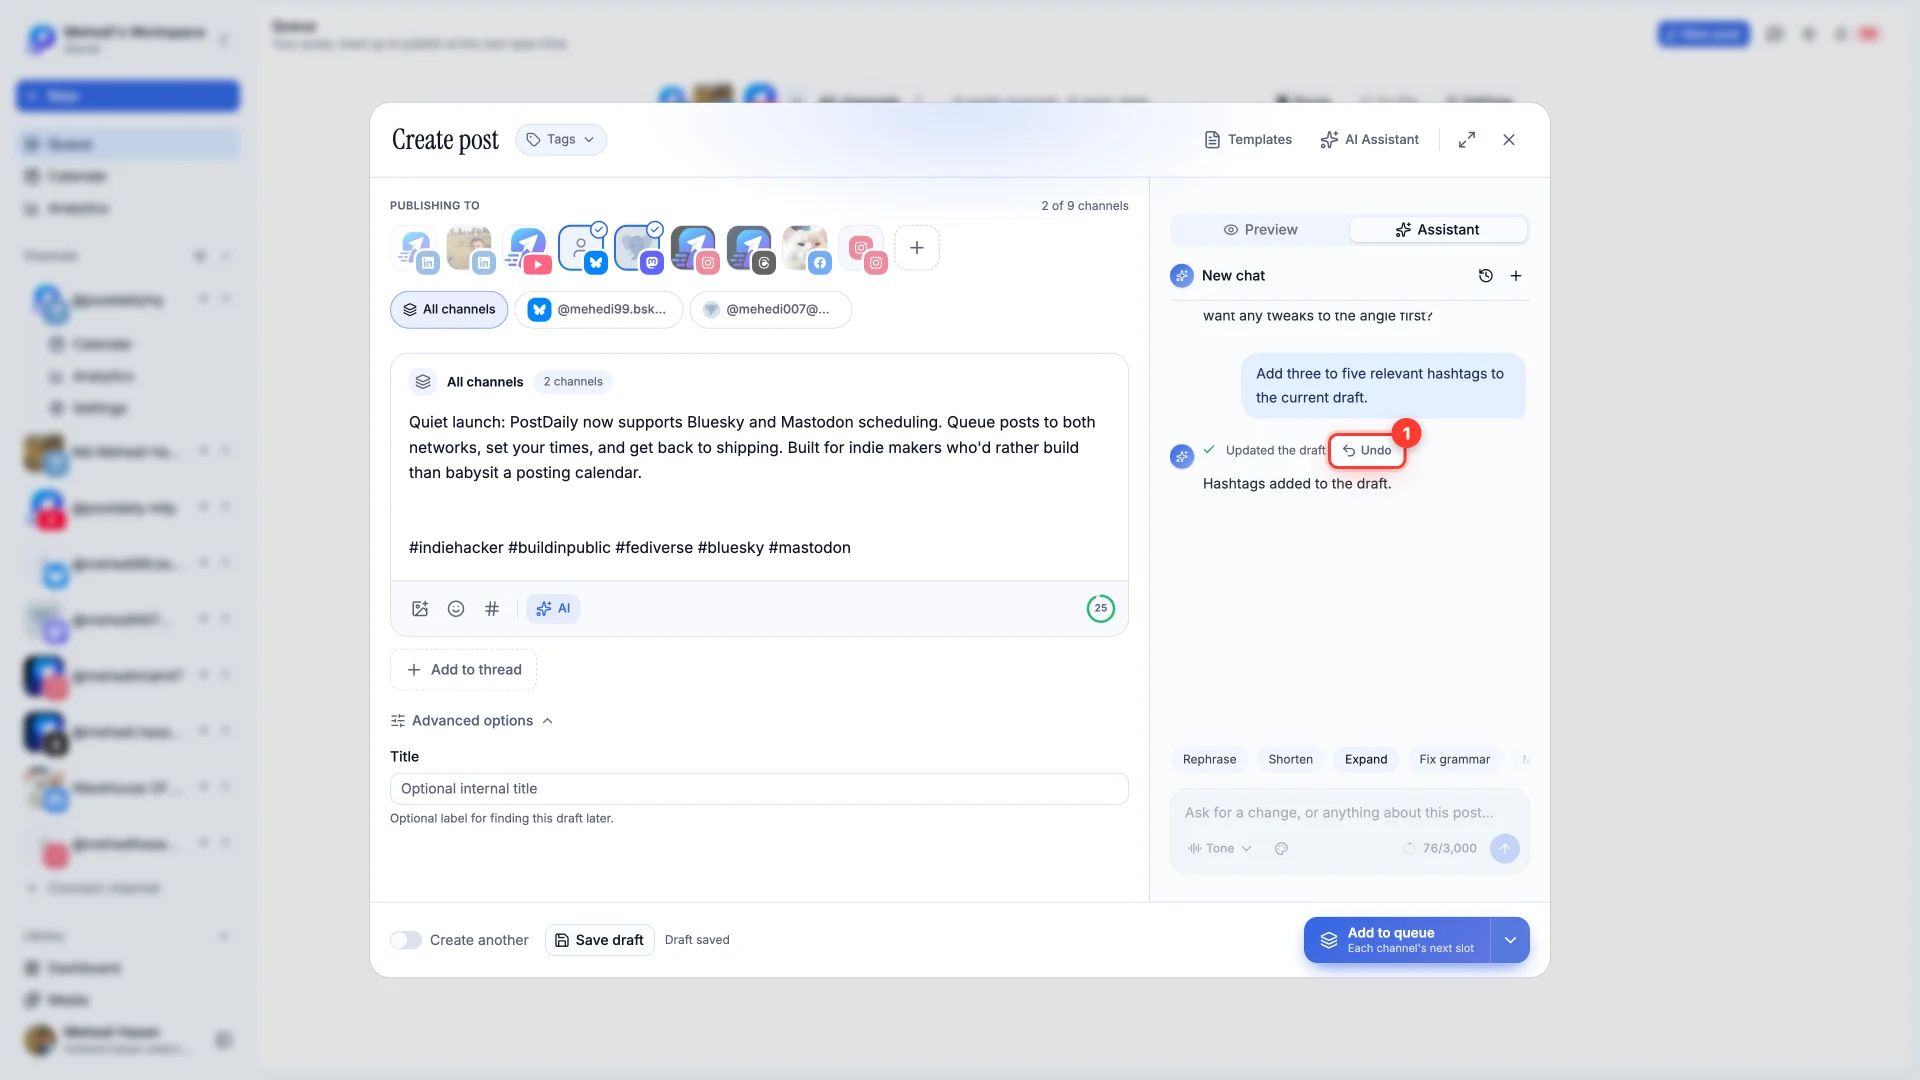
Once the draft has text, one-tap chips appear under the chat: Rephrase, Shorten, Expand, Fix grammar, More engaging, Add hashtags, Add emojis and more. Tailor per channel appears when you've picked more than one channel, Split into thread when a channel supports threads, and Translate offers eight languages.
Typed requests ask first
When you type a request that would replace text you've already written, the Assistant doesn't overwrite it. It shows a Replace your draft? card: Replace draft applies the new text, Keep mine leaves yours alone.
Tone and brand voice
The Tone menu sets the tone for this chat: Professional, Friendly, Witty, Bold, Inspirational or Informative. The palette button beside it opens AI & Brand voice in a new tab.
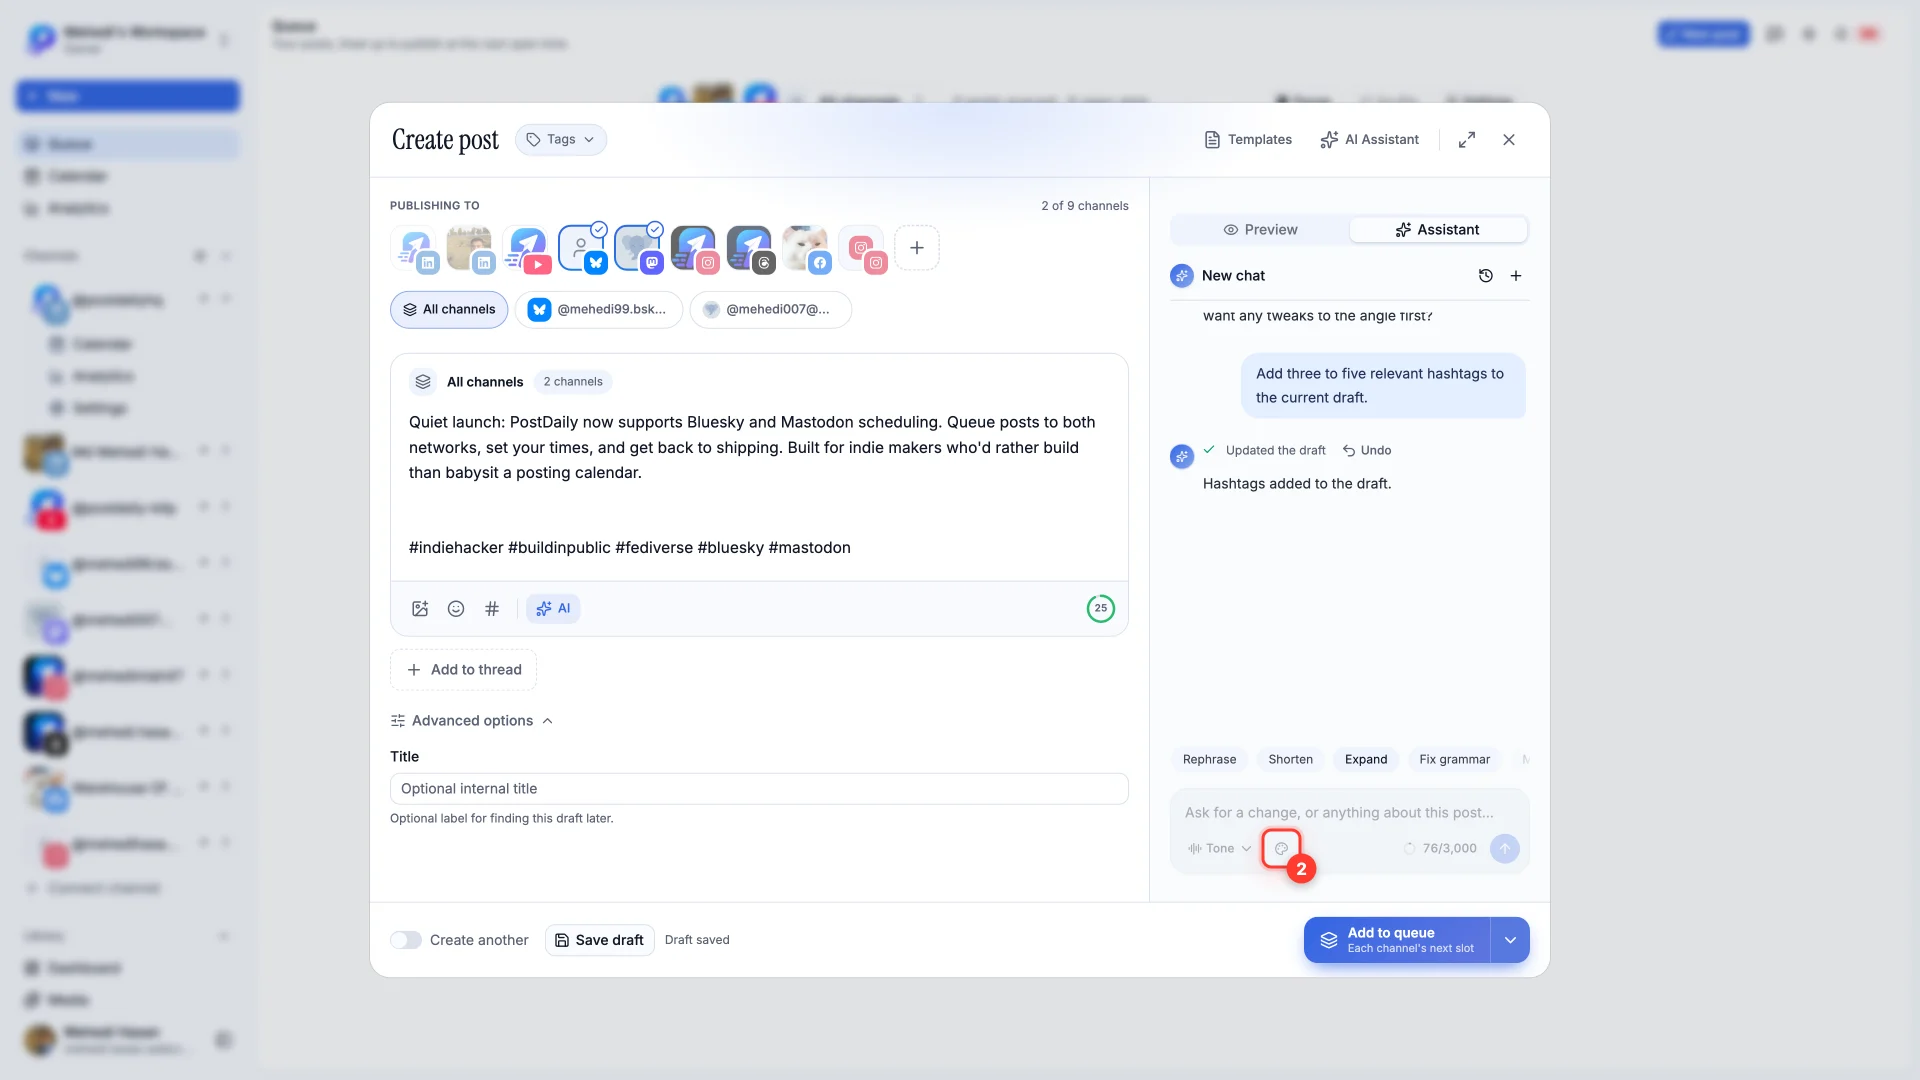
Brand voice applies to everyone in the workspace. Describe how you sound and what to avoid (up to 2,000 characters), set a default tone, choose how much emoji and how many hashtags you like, and add up to five example posts. Click Save brand voice to keep it. Owners, admins and editors can change it.
Ideas and top posts
Ask for ideas and you get five angles, each tagged with a format such as thread, carousel or short video. Write this turns one into a full post. If it can't tell what you post about yet — from your brand voice or the draft — it asks first, so naming your niche in brand voice gets you ideas straight away. On an empty draft, Repurpose a top post looks at your best posts from the last 30 days and gives one a fresh hook. It appears once the workspace has published something.
Scheduling
Ask when to post and the Assistant uses this workspace's own engagement from the last 90 days. It can set up the schedule too, but nothing is scheduled until you press Confirm.
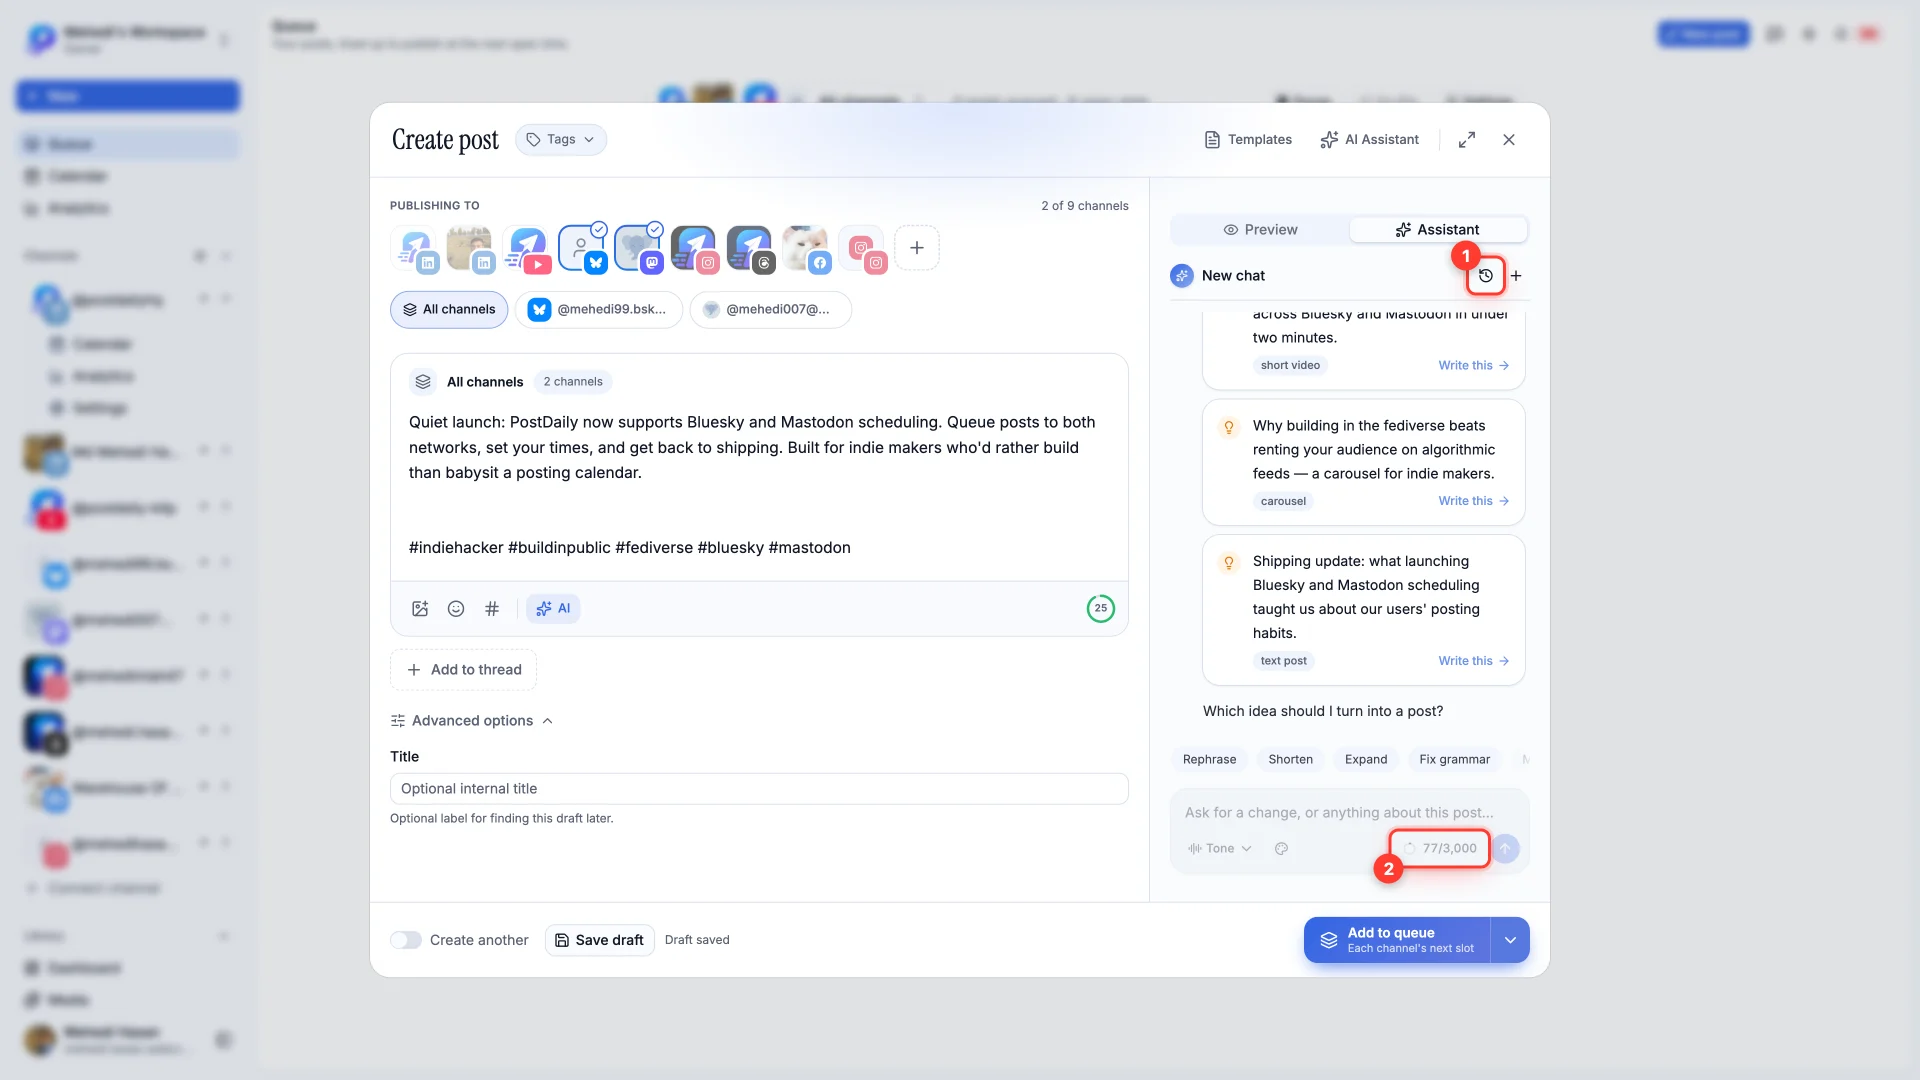
Chat history and credits
Every chat is saved. The history button lists your recent chats — click a chat's title to rename it — and + starts a new one. Each message you send uses one AI credit, however much work the reply takes. The meter beside Send shows how many you've used this month.